Start, manage, and grow your Amazon business with Jungle Scout.
Empower business decisions with market intelligence data for leading global brands.
Gain a competitive edge with data-driven market intelligence.
Analyze consumer demand and maximize your revenue potential.
Uncover profitable product opportunities on Amazon.
Streamline market research and make informed e-commerce decisions.
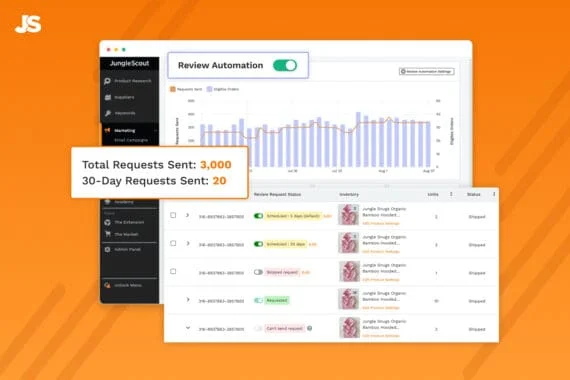
Boost efficiency and save time with tools to automate your business.
Jungle Scout Cobalt
Get brand and market-level intelligence, built exclusively for larger brands, retailers and agencies.
Top-rated Amazon intelligence software to start and grow your business.
Build custom tools with industry-leading Amazon intelligence data.
Enterprise-level tools to improve profitability and fuel multi-brand growth.
Integrate rich Amazon data into your preferred business intelligence tools.
Amazon's Biggest Sales Events
Pricing analysis of major sales events like Prime Day, Black Friday, and Cyber Monday.
All the information you need to grow, manage, and optimize a successful ecommerce business.
NEW!
Competitive data and market insights for Amazon brand owners.